
This post may contain affiliate links, If you choose to buy through these links, I may receive a small commission at no additional cost to you.
Ever look out at your backyard on a Friday and just feel… bored? You’ve got the space, but it’s lifeless. Just a patch of grass you only touch when the lawnmower comes out. I’ve been there. Last year, I finally decided to build a fire pit, and honestly? It changed everything. Suddenly, friends were hanging out past midnight, the marshmallows were out, and the whole energy of the house shifted. You don’t need to spend a fortune on professional landscapers to get that high-end look. If you’re ready to actually use your yard, here are 10 DIY fire pit designs you can pull off this weekend.
Why Everyone Is Obsessed With Backyard Fire Pits Right Now
There’s something primal about a real flame. We spend all day staring at screens, so sitting around a fire feels like a reset button. People are hunting for “DIY fire pit designs” because it’s honestly the cheapest way to add real value to your home. It’s an instant outdoor living room, no expensive furniture required. It’s about creating a space where the conversation flows naturally without the distraction of modern tech. If you’re looking for more ways to unplug, check out our practical guide on how to do a digital detox at home to reduce screen overload.
Pro Tip: If you want to take your outdoor upgrade a step further without breaking the bank, check out our guide on how to forget expensive landscaping and build a $500 backyard forest that cools your home and boosts property value alongside your new fire pit setup.
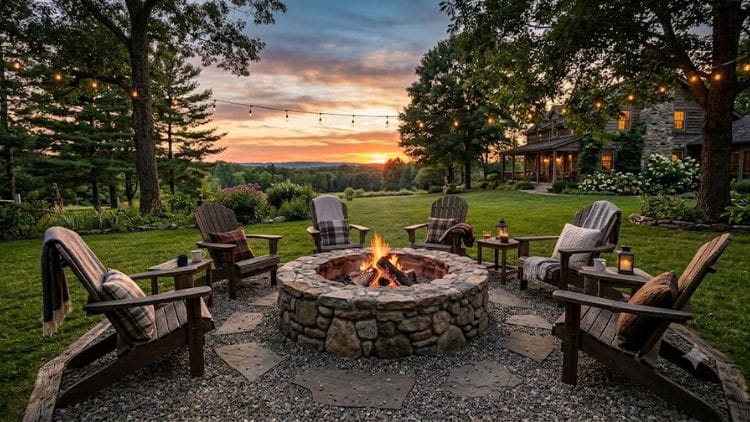
1. The Classic Stone Circle (The “Forever” Look)
This is the gold standard for a reason. It feels grounded and permanent.
The Build: Choose a level spot away from trees. Use retaining wall blocks from your local hardware store. Lay them out in a circle first to get the sizing right.
The Secret: Don’t skip the high-heat adhesive. It’s a small extra cost, but it locks those blocks together so they don’t shift when the ground freezes or thaws.
Pro Tip: Build a slightly wider base layer using packed gravel or crushed stone. It creates a “foundation” that makes the whole thing look like it was built by a professional contractor years ago, not you last weekend.
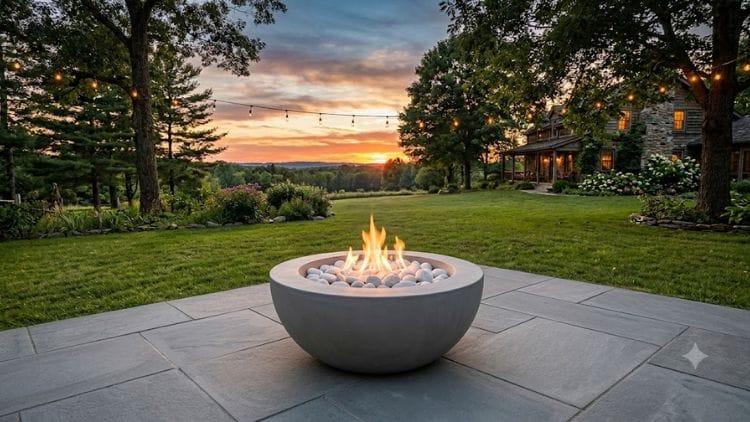
2. The Modern Concrete Bowl
If stones aren’t your style, go for the sleek, minimalist look. This is the ultimate “high-end” aesthetic.
The Build: Grab two large plastic tubs : one bigger than the other. Pour high-strength concrete between them. Once it cures, pull the tubs away, and you have a perfect modern bowl.
The Vibe: It’s heavy, looks expensive, and gives off total high-end boutique vibes. Among all the DIY fire pit designs, this one stands out for its modern design.
Watch out: Concrete can be finicky. You must use fire-rated concrete or add a metal bowl insert. If you put wood directly on standard concrete, the intense heat can cause micro-fractures, eventually leading to a crack.
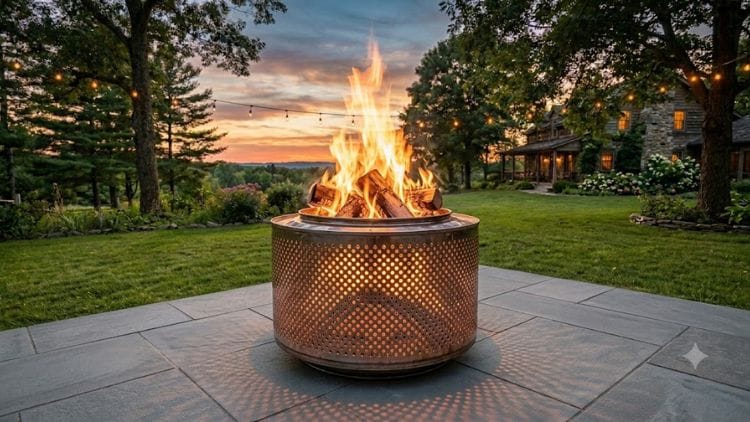
3. The Repurposed Washing Machine Drum
This is my absolute favorite hack. It’s the “zero-waste” hero of fire pits.
The Build: Ask around for an old front-loading washing machine. The drum inside is pure gold. It’s heavy-duty stainless steel, meaning it won’t rust or melt.
The Perk: The holes are already there! This provides perfect airflow, so your fire burns clean with very little smoke. It’s basically a high-end designer pit that costs absolutely nothing if you find the right scrap.
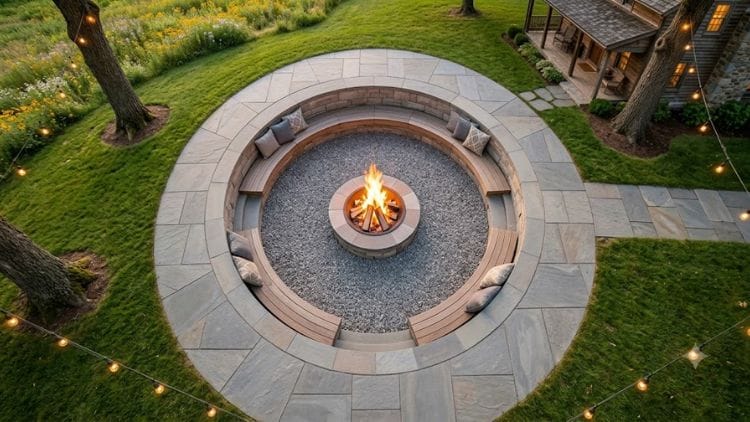
4. The Sunken Pit (The Ultimate Lounge)
If your yard is flat, dig down. It’s a total game-changer.
The Build: Dig about a foot to 18 inches down. Line the bottom with heavy gravel for drainage (so you don’t end up with a mud pit).
The Vibe: It feels incredibly private, like one of those cool 70s conversation pits. Because the pit is below ground level, it stays warmer on windy nights, making it the perfect spot for late-autumn stargazing.
5. Brick and Mortar Elegance
If you’ve got a trowel and some patience, a brick pit is a classic.
The Build: You’ll need fire bricks for the interior. This is non-negotiable regular bricks will pop or shatter under extreme, repeated heat. If you want to understand the science behind it, you can read more on why fire bricks are non-negotiable for high-heat DIY projects.
The Detail: Match the exterior brick color to your house. When your fire pit looks like it belongs to the architecture of your home, you’ve just added permanent value to your property. It’s not just a hobby; it’s an asset. Choosing from these DIY fire pit designs helps ensure you build something that adds lasting value.
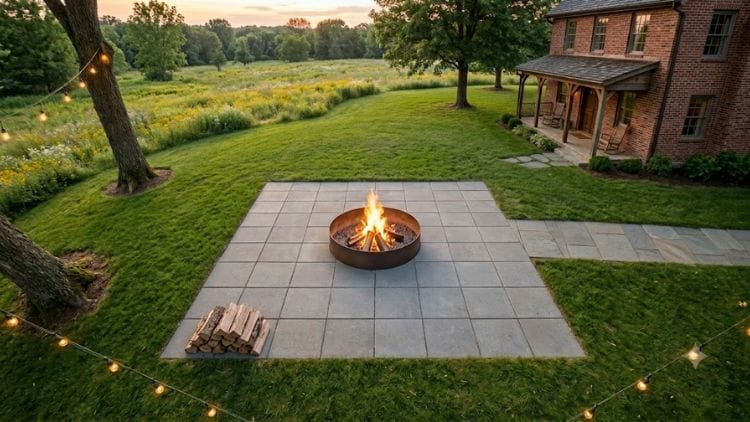
6. The “No-Dig” Portable Paver Ring
Renting? Can’t dig up or damage the grass? No problem.
The Build: Buy a durable metal fire ring insert like the SoulMate Outdoor 35-Inch Smokeless Fire Pit Ring and surround it with nice, heavy pavers.
The Perk: When you move to your next house, you just pick up the ring and the pavers and take them with you. It’s the ultimate “low commitment, high reward” project.
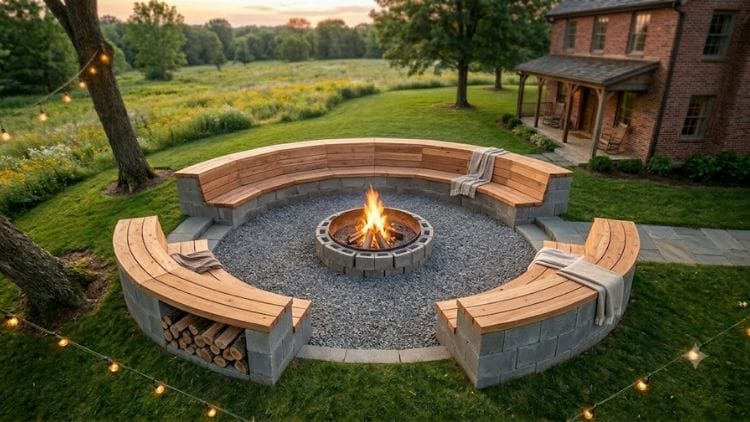
7. The Tiered Seating Hack
A pit is only as good as where you sit. Don’t just throw out cheap plastic chairs : they look cluttered and flimsy.
The Build: Stack cinder blocks in a semi-circle and slap some smooth wooden planks on top to create a tiered bench.
The Result: It turns the area into an experience, not just a spot for a fire. Plus, tiered seating allows more people to see the fire without being blocked.
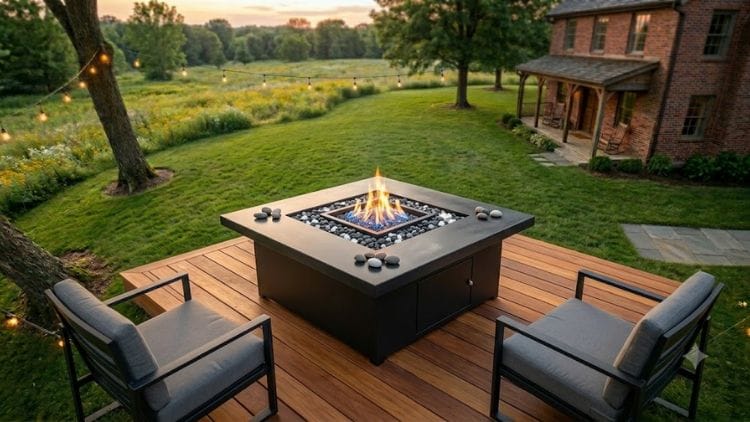
8. Elevated Steel Fire Table
Think “coffee table meets campfire.”
The Build: Build a box frame using pressure-treated lumber (to prevent rot). Cover the sides with stone veneer. Top it with a metal insert fueled by propane.
The Use: This is perfect for smaller decks where you want a surface to set down drinks or a plate while you relax. It’s essentially a piece of functional furniture. Many of these DIY fire pit designs are perfect for those short on space.
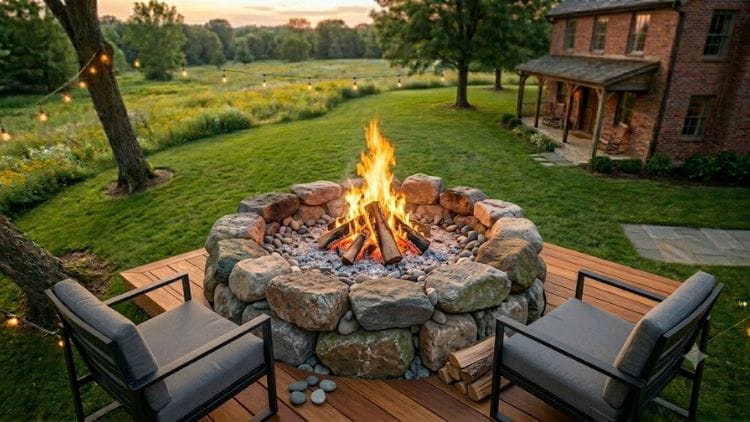
9. The Natural Rock Fire Pit
Head to a local landscape yard and pick out raw, flat boulders.
The Build: Don’t try to make it perfect. The rugged, mountain-campsite look is the whole point. Stack the stones naturally.
The Vibe: It looks like you stumbled upon a campfire spot in the Alps. It takes almost zero construction skills because you’re working with the stone’s natural shape rather than forcing it into a square.
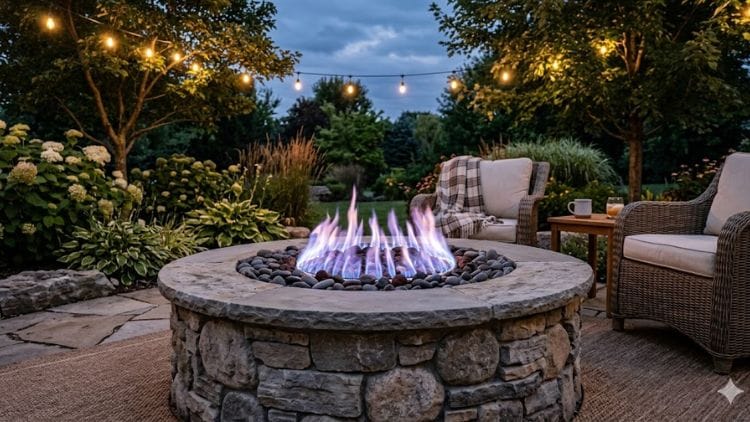
10. The DIY Gas-Conversion Fire Pit
Want to enjoy a fire without the annoying smoke? Take any of the stone or brick designs above and drop a propane burner kit inside.
The Perk: Cleaner, safer, and you can turn it off with a single knob. No ash to sweep, no cleaning up the next morning, and no smoke blowing into your neighbor’s windows.
- The Secret: For sealing parts exposed to intense heat, use a specialized sealant like the High Temperature Black Silicone Adhesive which provides industrial-grade thermal protection and a flexible, waterproof bond.
How to Style Your Seating Without Spending a Fortune
People overthink this. You don’t need a $2,000 outdoor sofa.
Mix and Match: Grab some Adirondack chairs from a discount store, throw down a few weather-resistant floor cushions, and maybe use some sanded tree stumps as side tables.
The Magic Touch: String up some warm Edison bulbs overhead. It instantly makes a backyard feel like a five-star resort, even if you’re just in a small rental. Browse more DIY fire pit designs online to find your perfect lighting style.
Common Safety Mistakes You Must Avoid
Distance: Never build this right next to your wooden fence or your house. Keep it at least 15 feet away from anything flammable. If you want to make sure your setup complies with the basic construction and safety standards of a fire pit, always check your local structural guidelines before building.
Suppression: Always keep a bucket of sand, water, or a fire extinguisher nearby. Embers stay hot for hours, even after the flames look dead. Never walk away from an active flame, not even for a single second.”
Keeping Your Backyard Vibe “Luxury”
“Luxury” is all about the details, not the budget.
Base: Always use a crushed gravel base : no dirt. It keeps your shoes clean.
Greenery: Add some large potted plants or ornamental grasses around the perimeter to soften the edges.
Order: Keep the wood pile neat and covered. Clutter is the enemy of a luxury vibe. Building this isn’t just about the pit; it’s about those Saturday afternoons spent working with your hands. You’ll stop seeing your backyard as just “the space behind the house” and start seeing it as your own getaway. Grab a shovel. You’ve got work to do.
FAQ :
1. How to build a fire pit out of rocks safely?
Ans. Never use river rocks : they hold trapped moisture and can explode like popcorn when heated. Use dry, natural stones. Clear a circle, add gravel for drainage, and use a metal fire ring insert. That insert is your best friend for safety and prevents the heat from directly hitting the rocks.
2. How can I build a backyard fire pit on a tight budget?
Ans. Think like a scavenger. Look for leftover bricks on Facebook Marketplace, landscaping stones, or that washing machine drum I mentioned. If you buy materials, just stick to basic retaining wall blocks and gravel. You can build a killer pit for under $50 if you don’t mind a little manual labor.
3. How to build a smokeless fire pit with bricks?
Ans. You need a “double-wall” design. Build an inner wall and an outer wall with a small gap (about an inch or two). As the fire burns, air gets trapped in that gap, heats up, and feeds the fire from the top edge.It destroys the smoke particles before they can even escape the pit. It’s simple physics, but the difference is massive.
4. How do I know if it’s legal to have a fire pit in my yard?
Ans. Regulations vary by city. Most places are fine with it, but some have weird “burn laws” or permit requirements. Check your local council’s website or ask your HOA before you break ground. Better to check once than to deal with a fine later.